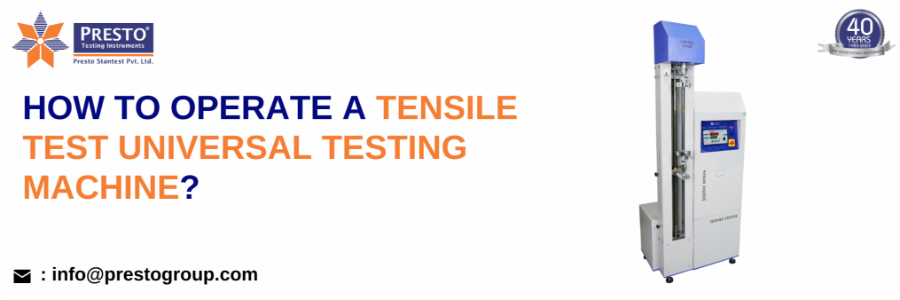

In evaluating the quality and dependability of materials under high tensile forces, a pivotal consideration is their tensile strength. Tensile strength denotes the maximum stress a material can endure before experiencing breakage or permanent deformation when subjected to tension.
Evaluating this property is essential in various industries, such as construction, engineering, and manufacturing, where materials are subjected to tensile forces. Rigorously testing materials against tensile strength ensures that they possess the necessary durability to endure demanding conditions without compromising structural integrity or endangering human lives.
To make it easy for the manufacturers to conduct tensile strength tests on the materials, we at Presto have designed high-quality laboratory testing instruments known as digital tensile testers. This high-quality lab testing equipment offers the highest quality test results and can be used in different sets of industries.
In this blog post, we will focus on how to easily operate this tensile testing instrument and save your products from poor tensile strength.
The assessment of mechanical properties in a variety of materials is a common method for quality control. The tensile testing process entails applying a tensile load to a specimen until it reaches its breaking point, while concurrently measuring the resulting alterations in both length and force. This type of testing is essential for understanding how materials behave under tension and determining their suitability for different applications.
To perform tensile testing accurately, universal testing machines (UTMs) are used. The tensile testing machines are designed to apply precise tensile forces and measure the corresponding deformation or strain in a material. They can be configured with different grips, fixtures, and sensors to accommodate various types of specimens and test conditions.
Presto is a leading manufacturer of tensile tester machines in India and designs this high-quality laboratory testing equipment with the best possible features.
This tensile compression testing machine has been made with different essential components that make it easy for manufacturers to conduct tensile strength tests on the materials with ease.
Now, let us discuss the different components of this quality testing equipment.
The Presto Digital Tensile Tester is an advanced testing instrument designed for evaluating the tensile strength of materials with precision and efficiency. Key features include safety limit switches for over-travel safety, ensuring secure testing operations. The inclusion of hardened lead screws facilitates frictionless movement during testing, enhancing overall performance.
The high-precision micro-controller-based system controls offer precise and consistent testing conditions. The Peak Hold facility allows for the capture of maximum force values during testing.
The feather-touch control system provides a user-friendly interface for seamless operation. The single-column rugged structure enhances durability and stability during testing procedures, making the Presto Digital Tensile Tester a comprehensive solution for material testing needs. The tensile strength is important for different industries including the plastic industry.
Below we have listed the list of different components of tensile strength testing.
With the help of these components, the machine will work properly and users will get accurate lab testing results.
You can conduct tensile tests on different materials with the help of the steps mentioned below:
Begin by taking a strip of the material you intend to test. Ensure that the strip is representative of the material's properties. Place the sample strip onto the dumbbell cutting die. A dumbbell cutting die is a specialized tool designed to shape the specimen into the required dumbbell form. Execute the cutting process according to the specific instructions outlined in the test standard applicable to the material. This ensures uniformity and adherence to testing standards.
Plug the machine into a power source with the specified electrical requirements that include 5 amp, 220 Volts AC supply. Ensure that the power source is compatible with the machine's electrical specifications. After connecting the machine to the power source, activate it by turning the machine on. Turning on the machine initialises its electrical systems and prepares it for operation.
Upper Grip Placement: Position the upper side of the specimen between the upper fixed grips. Securely tighten the grips to ensure a firm hold on the specimen.
Lower Grip Adjustment: Move the lower movable grip upwards to facilitate easy placement of the specimen between the grips. This adjustment ensures that the specimen reaches the grips comfortably, promoting a secure and stable setup.
Lower Limit Switch: Verify that the lower limit switch ring is appropriately positioned, maintaining a minimum distance of 25 mm. This distance setting is vital for controlling the testing parameters and ensuring the accuracy of the results.
Lower Grip Placement: Insert the lower end of the specimen between the lower grips and securely tighten the grips. Confirm that the specimen is centrally aligned within the grips to maintain uniformity and prevent any biases in the test results.
Once the sample is placed you can easily commence the test. If you want to know more about this testing instrument like its features and technical specifications, then you can easily consult with us by giving us a call at +919210903903 or email us a query at info@prestogroup.com.
Connect with us for your business enquiries. Generally, we respond within one or two working days.