
- /
- Article / Apply these 6 easy steps to calibrate Presto bursting strength tester
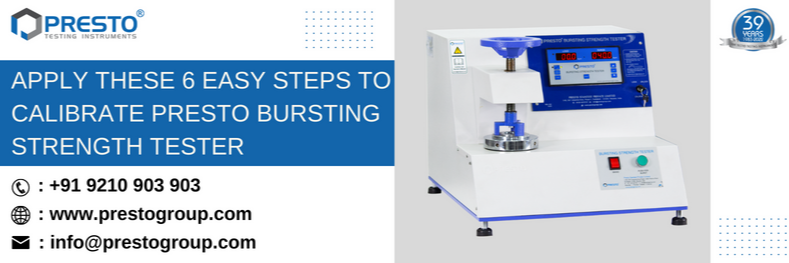
Apply these 6 easy steps to calibrate Presto bursting strength tester
13-9-2022
When it comes to corrugated boxes, bursting strength is a key factor in determining their durability and utility. Many businesses have discovered that traditional methods of testing the burst strength of corrugated paper are not always accurate or effective. Thus, if you are working in a box manufacturing firm, then we suggest you go with Presto bursting strength tester. This is one of the highly accurate lab testing instruments that is used to test the bursting strength of corrugated boxes. The bursting strength tester is a quick and easy way to determine the burst strength of corrugated boxes. It is designed to quickly and accurately test the strength of corrugated boxes against bursting pressure. This testing instrument will provide hydraulic load under the rubber diaphragm of a specific area of the sample under test.
Why you should test the corrugated box against bursting strength?
How Presto bursting strength tester helps to measure the bursting strength of boxes?
- Before conducting the test, prepare the testing specimen, and plug the machine in 15 amps, 220 Volts AC.
- Place the specimen accurately on the platform in the center and parallel to the compression plate.
- Whenever you place the specimen on this lab testing instrument, then you should make sure that the specimen will be placed accurately in the center and parallel to the compression plate. This will help the accuracy of the test results.
- Once you place the specimen accurately on the testing instrument, then you can easily move the rotatory switch in the downward direction.
- Users can make use of the fast runner option to make the compression plate just above the testing specimen.
- Remove any air gap between the specimen and the compression plate.
- Once you follow all the above steps, then you can easily commence the test.
How to calibrate the bursting strength tester with ease?
- Short the PROG LOCK in the rear panel to make changes in the configuration. Open the front panel and separate it from the unit. Open the plug and connect the master gauge to it.
- Place a metal plate of minimum dimensions of 100 X 100 mm on the lower clamp. (The metal plate should have a thickness of 3 mm if MS is used. More thickness can be used in the case of Aluminum)
- Press The PEAK/NORMAL button for at least 3 sec. to select normal mode. This will be indicated on the load indicator.
- Press the "push for the burst" button to maintain a pressure of approximately 20-25 kg/cm2 on the master gauge. Switch off the Mains button to hold the reading in the master gauge.
- If the readings on the master gauge and the load indicator do not match as shown in the figure, this indicates that the machine is not calibrated properly.
- If the value in the master is not matching the load indicator then Press Limit Button. This will show LCAL on the load indicator on the left side and a reading such as 041.5 on the right side. Increase reading from 041.5 to 042.5 using the increment/decrement key. Now repeat the process until the values on the load indicator and the values on the master gauge match each other. Now open the ‘PROG LOCK’ in the rear panel to lock the configurations.
Recent Articles
- Moisture Analyzers: Definition, Working, Calibration & Industrial Uses
- Top Analytical Testing Instruments in the Pharmaceutical Industry
- What is LAF? Full Form, Working Principle and Applications
- What is CTM? Full Form, Standards, Applications, and Industrial Importance
- How is CMC Used for Fabric Color Evaluation in Textile Industries?
Need more information
Connect with us for your business enquiries. Generally, we respond within one or two working days.